In the previous post, I made a web site with Hugo. Now, what if I want others to be able to visit my web site? After hosting the site on the vps, I actually can access my web site from anywhere by typing http://144.21.57.200 to the browser. However, remembering the exact numbers is hard. Just imagine if I ask a friend to visit my web site and then they ask “Okay, what is the url?”, then I say, “Oh it’s H-T-T-P colon double slash one-four-four dot twenty-one dot fifty-seven dot two hundred.” They will definitely look at me funny. So that’s where the domain name come in.
Domain Name
What is Domain Name?
Domain name is like an alias to your web server’s IP Address. There are computers all over the world that will remember what domain name refer to what IP Address. These computers are called Domain Name Server (DNS). My site domain name’s deacputri.com and it refer to this IP Address “144.21.57.200”. To have a domain name, you need to “buy” a domain name at domain name registrar. Namecheap, Cloudflare, and DomaiNesia are examples of domain name registrar. I’m using Namecheap as my current registrar based on the low cost and the free “whois protection”.
What is “whois protection”? When someone register to ‘buy’ a domain, they are required to fill some personal data (like name, phone number, address, etc) that will be saved on a WHOIS database. The public are free to look at this data to know if a domain name already registered. However, to put your personal data on the place where everyone can see it is a very bad idea. With the “whois protection”, the registrar will fill that form with their information or dummy data instead of our real information. My suggestion is to always choose a domain registrar that provide free “whois protection” like Cloudflare or Namecheap.
Setup a Domain Name
First, sign up to a registrar and buy a domain name. After you have a domain name, set up your domain name in “Host Records” with this detail:
| Type | Host | Value |
|---|---|---|
| A Record | your-bare-domain-name.com | [your server IP Address] |
| CNAME Record | www.your-bare-domain-name.com | your-bare-domain-name.com |
Here is an example in the Namecheap Advanced DNS:

Note:
- @ points to my bare domain name (
deacputri.com) - www points to
www.deacputri.com
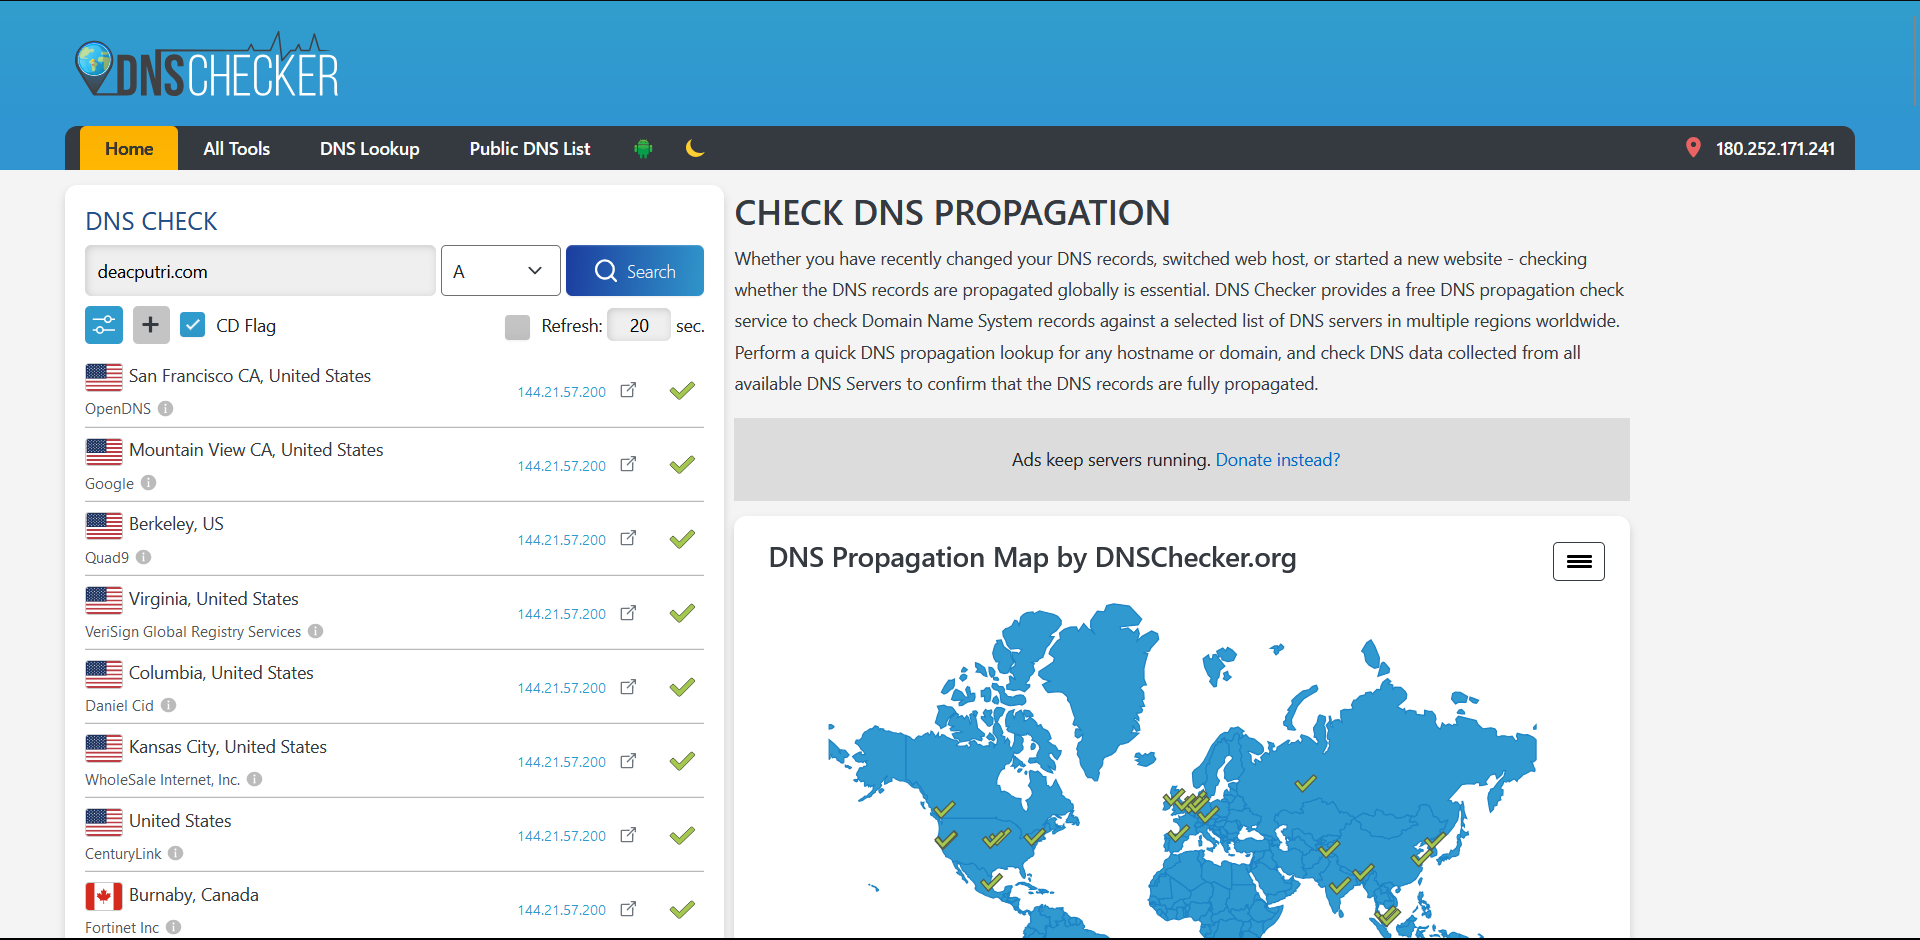
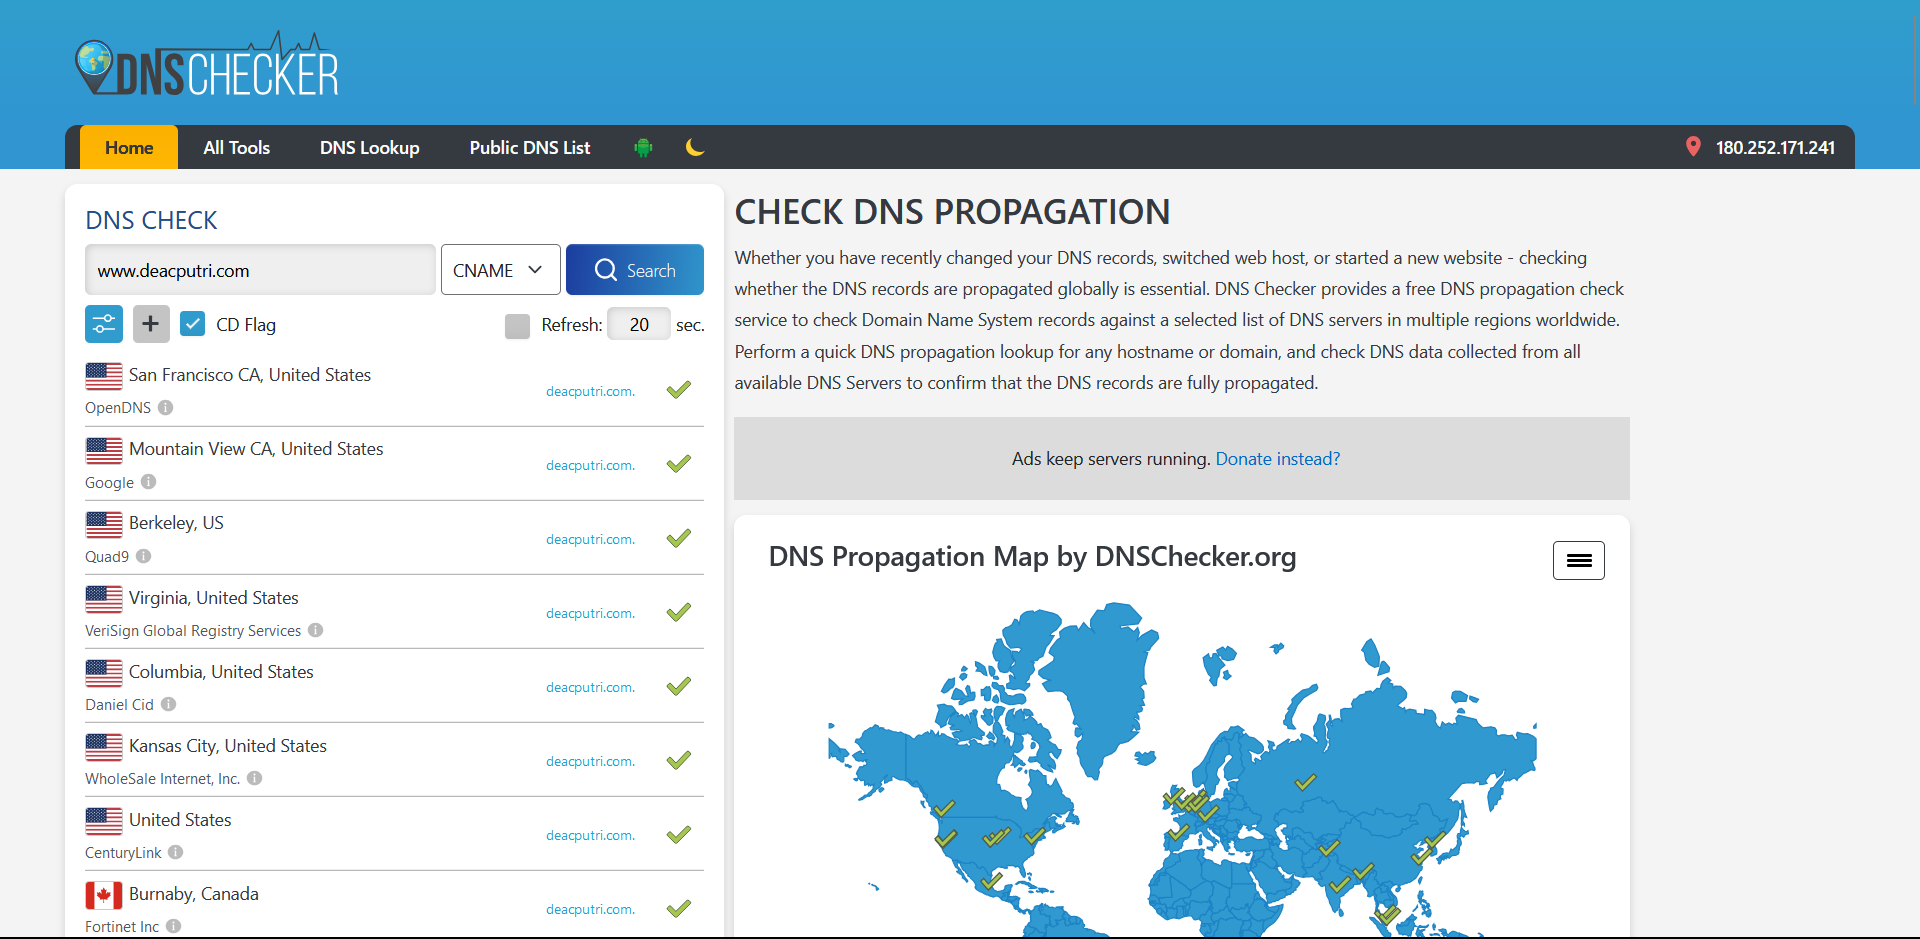
Save the configuration and wait for your domain name to propagate (or saved, in a simple word) with the dns servers over the world (you can check in dnschecker.org).
Here is DNS check for both A record and CNAME record.


Now, for some notes about A record and CNAME record:
- A record (Address record) is a record that allows you to associate a domain or subdomain name with an IP Address (32-bit or IPv4). In the example above, deacputri.com is associated with this IP Address =
144.21.57.200 - CNAME record (Canonical Name Record) is an alias or a canonical name of a domain name. In the example above,
www.deacputri.comis a canonical name todeacputri.com. You shouldn’t point CNAME record to a bare domain name as DNS specification doesn’t allow for CNAME records to coexsist with any other record type for the same domain. For example, if I set a CNAME record forexample.com, I cannot simultaneously have any of the following:example.com. A 192.0.2.1example.com. MX mail.example.com.
HTTPS and SSL
What is HTTPS and SSL?
HTTPS is a secure version of HTTP (Hyper Text Transfer Protocol), an application protocol that used to load webpages. HTTPS is secured using a protocol called SSL (currently also called TLS, Transport Layer Security). SSL is a protocol that is used to encrypt data sent between a browser and a website so no one could know what the data is when it got intercepted. SSL certificates is needed to establish an SSL connection between browser and web server. This is how SSL work:
The browser tries to connect to a website using HTTPS (secured with SSL/TLS).
This tells the browser that the connection should be secure.The web server sends its SSL certificate to the browser.
The certificate includes two important things:- The website’s identity (e.g., its domain name).
- Information about the Certificate Authority (CA), a trusted organization that issued the certificate and guarantees the website is legitimate.
The browser checks the certificate.
It verifies:- that the certificate is valid (not expired or fake).
- that the Certificate Authority is trustworthy and recognized.
If the certificate is valid, the browser generates a temporary key.
- This key is called a session key, and it’s a one-time key that will be used to encrypt all the data during the session.
- The browser encrypts the session key using the server’s public key, which was included in the SSL certificate.
Important note:
- The public key is only used to securely send the session key to the server.
- The public key is a key that anyone can use to encrypt information. It’s shared with everyone and is included in the SSL certificate.
- After that, the session key is the only key used to encrypt and decrypt the data exchanged during the session.
The server decrypts the session key using its private key.
- The private key is a secret key that only the server knows. It’s used to decrypt the information encrypted with the public key.
- So, in this step, the server uses its private key to decrypt the session key sent by the browser.
Once the session key is shared, it’s used to encrypt and decrypt data between the browser and the server.
After this step, both the browser and the server have the session key. This key allows them to:- Encrypt data before sending it, so it’s safe from attackers.
- Decrypt data they receive, so they can read the information.
Setup HTTPS and SSL Certificate
To setup HTTPS and SSL certificate, I used Certbot. Certbot has instructions on their website for several softwares (I’m using Apache) and several OS (I’m using Linux with Snap to install Certbot). Here is the step to install SSL certificate with Certbot for Apache software in an Ubuntu OS:
- Access the server using ssh using a user with sudo privilege.
- Install snapd (Ubuntu already has it by default).
1
2
sudo apt update sudo apt install snapd - Logout and login again.
- Install Certbot.
1sudo snap install --classic certbot - Prepare the
certbotcommand to ensure thatcertbotcommand can be run.1sudo ln -s /snap/bin/certbot /usr/bin/certbot - Get and install certificate.
1sudo certbot --apache - Test automatic renewal.
The certbot packages will install a scheduler with cron job or systemmd timer that will renew the certificates automatically before they expire. So there is no need to runcertbotagain for renewing certificate. To test automatic renewal of the certificate, run this command:The command to renew certbot is installed in one of these locations:1sudo certbot renew --dry-run/etc/crontab//etc/cron.*/*systemctl list-timers
- Confirm that the SSL certificate is installed correctly by accessing the website using HTTPS protocol (e.g., https://deacputri.com)